iOS Screen Resolutions

iOS screen resolutions from an app developer’s point of view.

2007: In the beginning

Back in 2007 when the first iPhone and iPod Touch were launched, iOS developers only had to worry about one resolution: 480×320.  Its aspect ratio is 3:2.

Life was great.

2010: The retina displays

Fast forward three years and three generations later.  In 2010, the iPhone 4 and iPod Touch 4th generation were launched with the first Retina Displays, which doubled the resolution of the screens.  The new resolution thus was 960×640.  This was great for developers as the new resolution had the same aspect ratio of 3:2.  This meant that layouts and graphics were pretty much backwards compatible.  The only thing would be that using non-retina images on a retina display would just look a little worse.  All app developers needed to do was double the size of the images used in their app and call it a day.

The iPad

Also in the same year (2010), the iPad launched with a resolution of 1024×768 (aspect ratio 4:3).  Obviously a tablet will have a different aspect ratio than a phone.  So now, essentially developers needed to maintain two layouts for the app, one for iPhone, one for iPad.

Life was still quite good.

2012: A longer iPhone

Moving forward to 2012, Apple released the iPhone 5 and the iPod Touch 5th generation.  Apple finally decides to jump on the 16:9 train, so these devices have a 1136×640 resolution (it’s close enough to 16:9).

The iPad retina displays

The iPads also get retina displays in 2012.  They have a resolution of a whopping 2048×1536 pixels (which can’t even fit on most people’s computer monitors).  But as the aspect ratio is kept the same, this is much like the iPhone retina upgrade above.  Between 2012 and 2013, the iPad Mini and its retina version are also introduced with the same resolutions as their larger siblings.

Alright so developers have to keep three variations of layouts in mind now:  3:2 for the old iPhones (plus 1x and 2x graphics for original and retina displays respectively), 4:3 for the iPad (also with 1x and 2x) and ~16:9 for the new iPhones and iPods.

Life was manageable.

2014: A bigger iPhone

Jump ahead again two years.  We now see the iPhone 6 and iPhone 6 Plus being launched.  Their resolutions follow 16×9 and are respectively 1334×750 and 1920×1080.  The iPhone 6 Plus also handles 3x image assets.

Now, for app developers, layouts that need to be considered include 3:2 (old iPhones and iPods), 4:3 (iPads), 16:9 (new iPhones and iPods).  In addition, three versions of the image assets are required, 1x (original displays), 2x (retina displays), 3x (iPhone 6 Plus).

Tools

Thankfully, Apple has also improved Xcode throughout the years with tools in order to help with this task.  Things like Auto Layout help with varying screen sizes and orientations (if you’re willing to throw away support for older devices).

And I guess it still beats the fragmentation in the Android world.

If you need help figuring this out, check out the following links:

Secure your Mac’s infrared port against random Apple Remotes

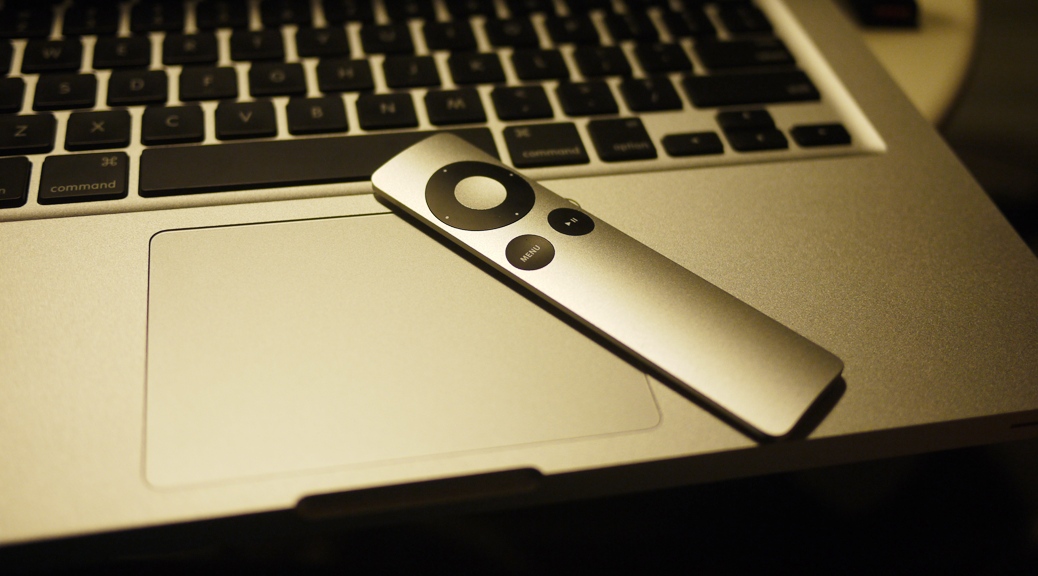
If you have a MacBook with an infrared receiver, did you know your Mac could be open to other people controlling your computer?  By default, Mac OS will recognize the signal of any Apple Remote.  Although the effect is relatively harmless (they will probably be able to randomly play some tracks on iTunes), it can range from being annoying if you were studying in the library and your friend happened to prank you, to embarrassing if you happened to be doing a presentation.

Most people do not need to allow any Apple Remote to control their computer.  Why would you want other people’s Apple Remotes to control your computer?  Here is a tutorial for securing your infrared port so that only your own Apple Remote can control your computer.

If you have an Apple Remote…

The icon showing a paired Apple Remote.

You can pair your remote with your computer by pressing and holding the Menu and Next (right) buttons for several seconds, while pointing the remote to the infrared receiver (on the MacBook Pro unibody models, the port is beside the power/sleep light on the front edge of the computer).  The pairing logo will show up in the middle of your screen when the pairing is complete.

If you don’t have an Apple Remote…

You can disable the infrared port so that nobody with a random Remote can control your computer.

  1. Open System Preferences → Security & Privacy.
  2. If the preferences are locked, you will need to click on the lock at the bottom left and enter your password.
  3. Click the Advanced… button at the bottom right.
  4. Check “Disable remote control infrared receiver.”
The advanced options of the Security & Privacy system preferences panel.

Hopefully this tutorial will help you avoid annoying or embarrassing situations when people try to prank you with their own Apple Remote.

Featured image by Julien Gong Min on Flickr.

A real MacBook Pro

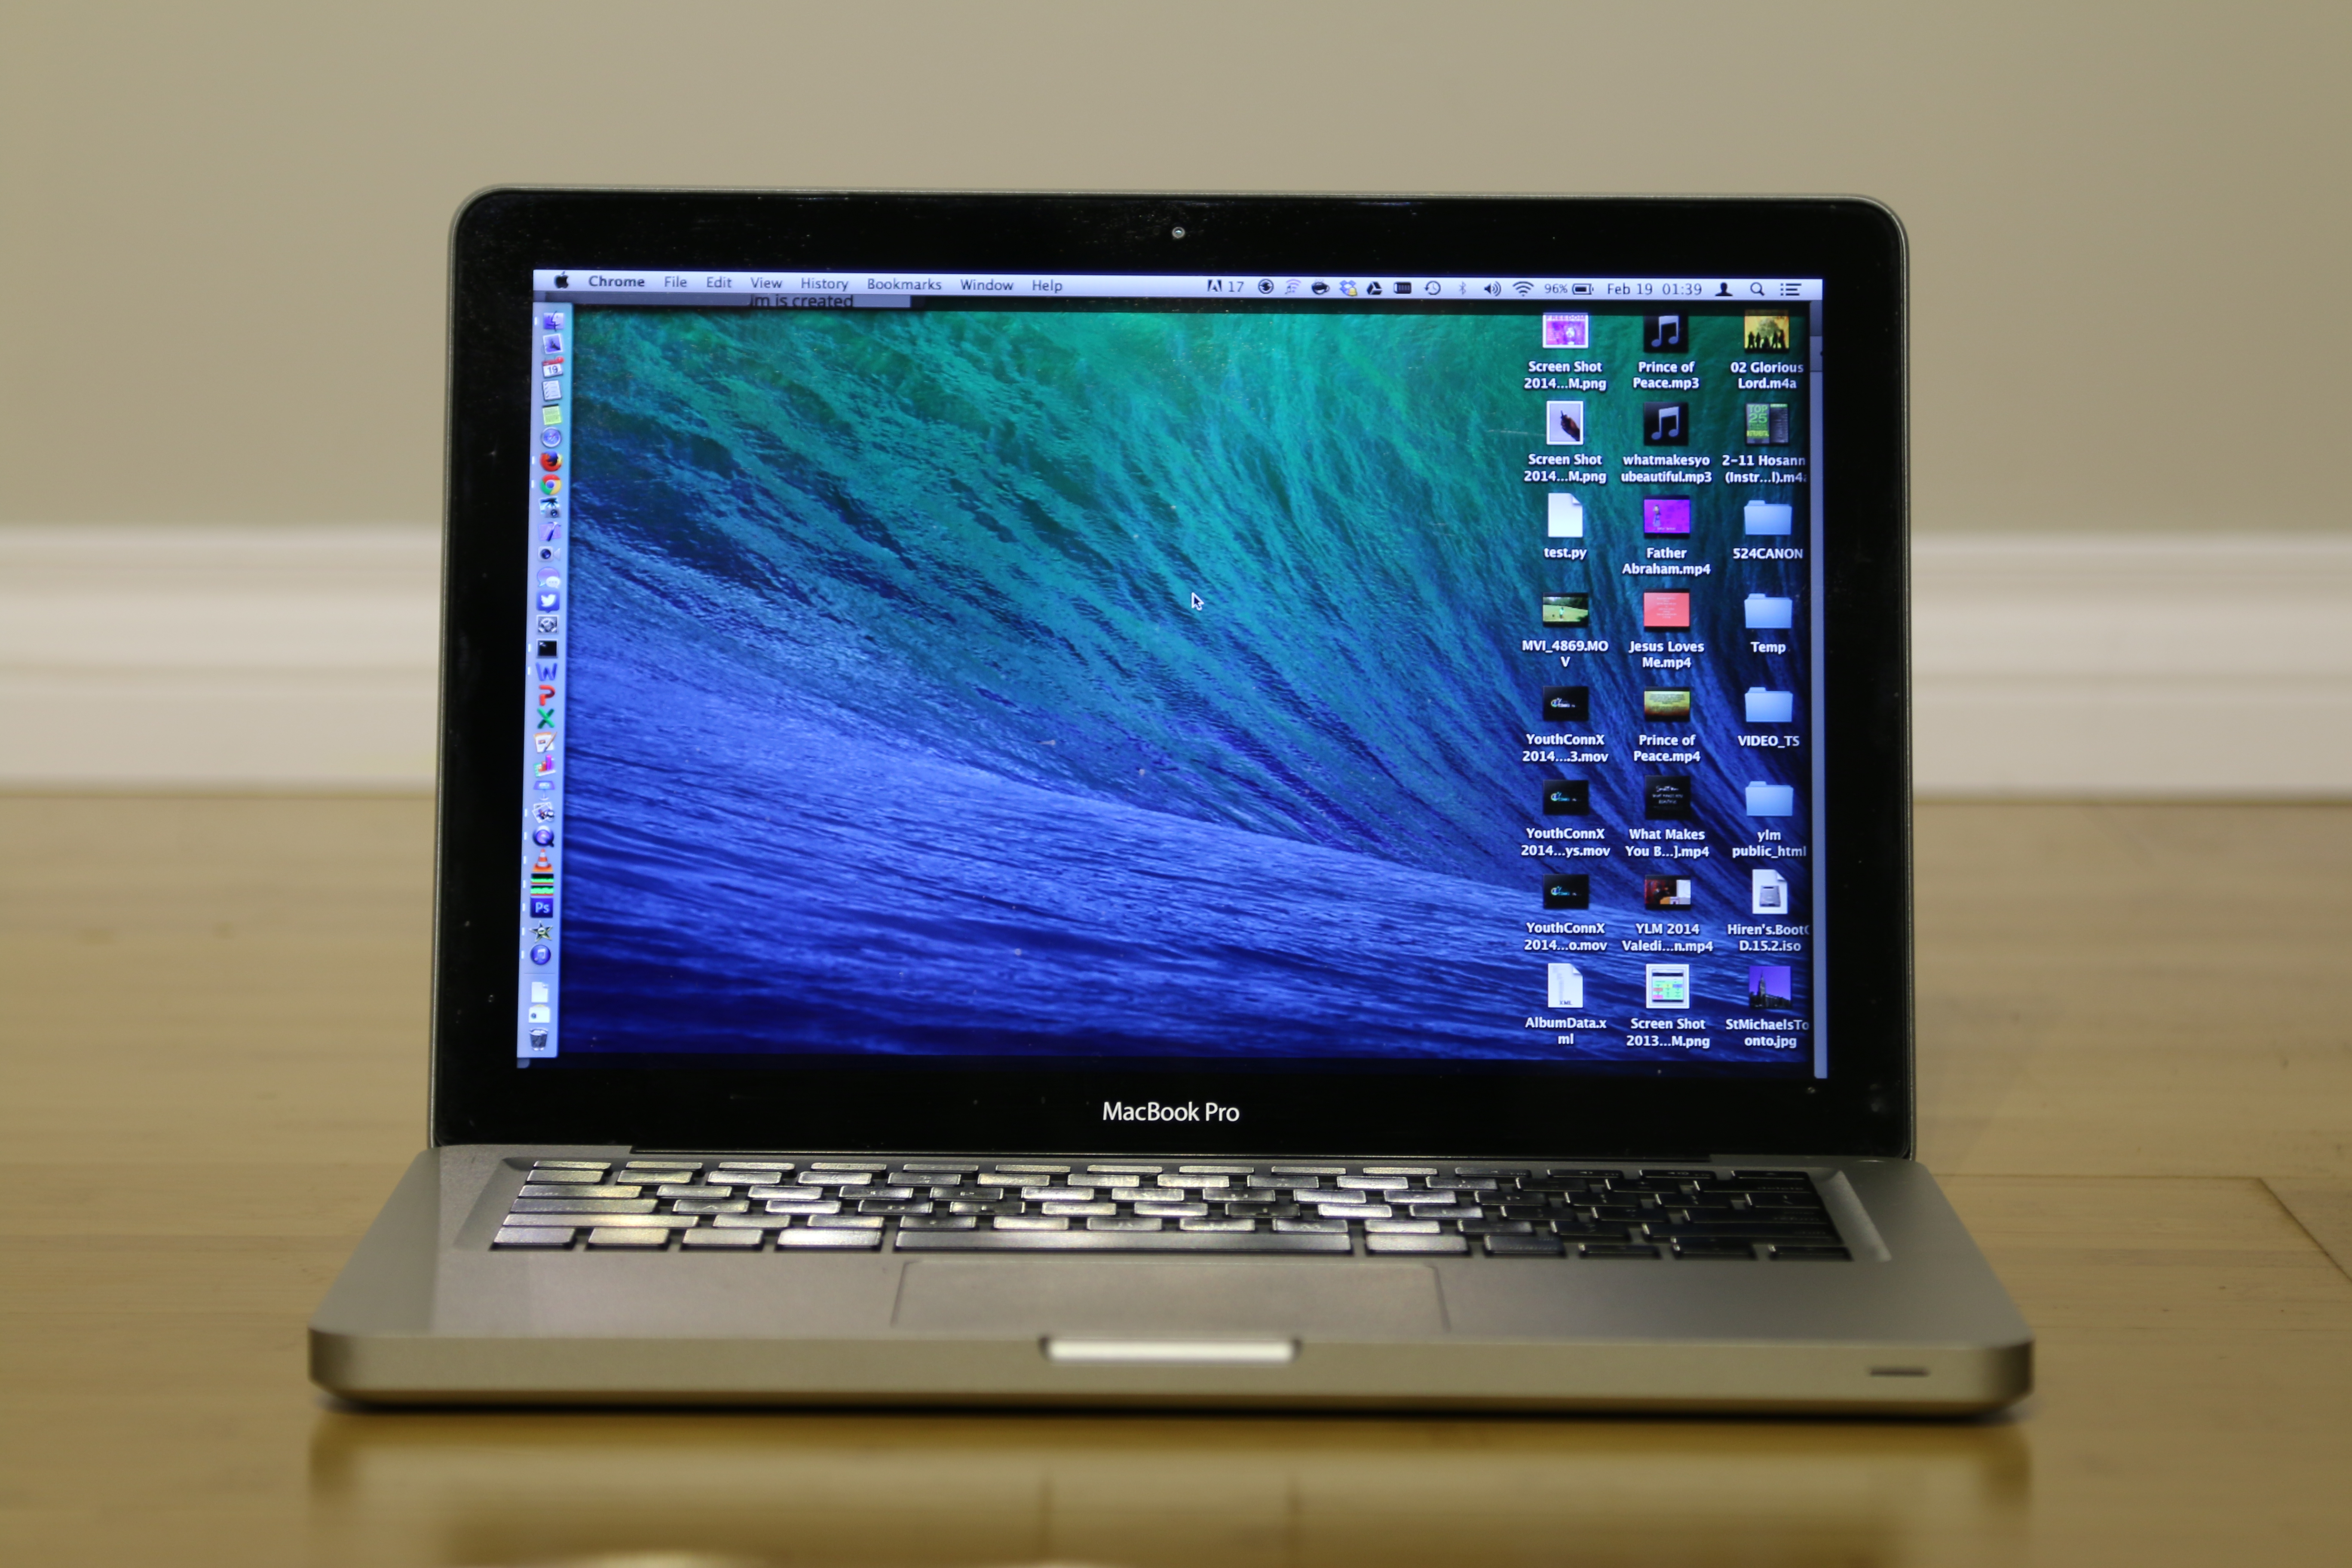
I bought my MacBook Pro back in 2009.  It was a Mid-2009 (2nd generation) version with a Core 2 Duo with the basic 2GB of memory and 250GB hard disk drive.  I chose Mac because of many reasons; here are some of them, ordered by what I thought most important first:

  1. Solid construction:  The unibody construction was a huge factor.  The size was quite slim and easily portable.  The aluminum exterior felt solid.  Since getting the laptop, I’ve only dropped it once.  The hard drive died as a result (expected); was not a big deal to replace it.
  2. Battery Life:  The battery life exceeded the average of other laptops of comparable performance and price.  I didn’t end up using the advertised 7 hours most of the time but 3-5 hours was good enough for me.
  3. Compatibility with Unix/Linux:  The Mac operating system is based on Unix.  As a computer science student, being able to easily compile and run *nix programs, navigate around in the Terminal, and connect to remote *nix servers was a definite plus.
  4. Compatibility with Windows:  This doesn’t seem to be well known, but Mac easily allows you dual-boot into Windows with its Bootcamp software to run any Windows programs natively.  I also used VirtualBox to setup a virtual machine running Windows for the programs that don’t need native performance or external inputs.
  5. Plug and play with projectors/monitors: From using an external monitor at home, to plugging into monitors and projectors at school and places I volunteer, it had to be good to go without much hassle.  For the most part, Mac OS X delivered this although I still prefer the more detailed options available back with Snow Leopard and Lion.
My MacBook Pro, now running OS X Mavericks

The MacBook Pro is an awesome work horse, able to do pretty much do everything I threw at it: homework, programming various things, projecting, editing photos and videos.  It has been my primary computer for the past 4.5 years, and having replaced the battery last year I think it could probably last for another couple of years.  I’ve slowly upgraded the hardware to max out 8GB of memory and settled with a Seagate 750GB Momentus XT Solid State Hybrid Drive, which fit the bill of having a large storage space while having slightly better performance with the flash cache.

I had hoped that Apple would be producing this line of MacBook Pros for a bit longer so that when my current one dies, I’d be able to replace it with another.  However, after surfing the Apple Store recently, I realized that my presumption may not hold true much longer.  There’s only one model of the 2nd generation MacBook Pro left and it hasn’t been updated since 2012.  The rest of the MacBook Pro lineup consists of retina display models.

Apple Store with the 13″ MacBook Pro being the last 2nd generation MacBook Pro model still standing.

MacBook “Pro” with Retina Display

I wouldn’t really call the new MacBooks “Pro”.  In my opinion, the current Retina MacBook Pros should just be called “MacBook with Retina Display”.

  1. No network port: How am I supposed to setup a router or debug network issues if I have to have Wi-Fi first?  Also, for transfers, a cabled connection is a lot more reliable and, for most access points, faster than Wi-Fi.
  2. No optical disk drive: How am I supposed to read/write CDs and DVDs with installation media to setup older computers?  How am I supposed to play DVDs? — a lot of educational media is still on DVDs, if not tape!
  3. No user upgradable parts:  There’s no way to replace a stick of memory if one has gone bad.  There’s no way to upgrade your memory if you need more.  There’s no way to buy a larger hard drive if you run out of space.  You have to consider how much memory and space you’ll need up front, and pay Apple’s premium for that specific configuration.
  4. No infrared sensor: I use the infrared sensor with the Apple Remote for a quick remote when giving presentations.  The Apple remote is a lot cheaper, smaller and convenient than other remotes out there, for small-scale presentations.

Yes, I realize that down the road (even currently) probably people don’t need a network port, optical disk drive, or upgradable parts, but those people are probably not “Pro” users.  That is exactly the reason why I think the current Retina MacBook Pro should be renamed as “MacBook”, and that the MacBook Pro lineup continue to be refreshed.

A real Macbook Pro

What I would consider a real MacBook Pro would be one with the 2nd generation hardware (retaining the ethernet port and optical disk drive) updated with an Intel Haswell processor and retina display.  Now that would be something I would find worth buying.  Basically, if Apple took the old MacBook Pro line and refreshed it with a new processor and a retina display, that would be the perfect computer for me, and I’m sure I wouldn’t be the only one buying it.

Steve Jobs’ Clicker

The interesting box on the A/V desk

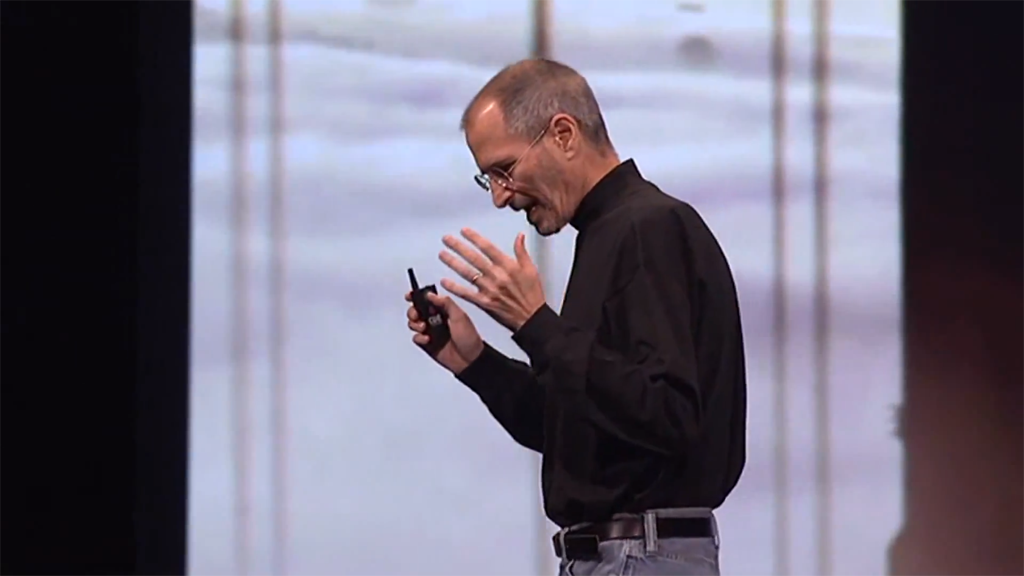
I was snooping around the A/V desk at the RCAV One Conference that was held last Saturday at the Vancouver Convention Centre, and came across one interesting piece of equipment that I didn’t really recognize. It turned out to be a PerfectCue receiver, identified by the convenient markings on the rear of the unit that I was facing.  So I proceeded to look up more information about this little unit.

A PerfectCue Mini receiver and remote control

And it turned out that it was also the same system that Steve Jobs (and Apple in general) used in his keynote presentations!

Steve Job’s clicker

Before the black clicker, there was a blue clicker.  I’ve been following Steve’s keynote presentations since around the time I got my MacBook Pro in 2009.  His presentation style is definitely something that can be learned from.

Exit mobile version