Suspending Browser Tabs for Memory Conservation

Update: As of February 2021, The Great Suspender is no longer available due to the releases being overtaken by a malacious owner.  Modern Chrome versions are said to have better memory management anyway, so you may find a separate extension unnecessary.

If you’re like me and have upwards to 30-50 browser tabs open at the same time, you may notice that your computer becomes sluggish.  In my case this was because all the tabs still consume memory even though I might not need them for some period of time.  I still like to keep some tabs that I might need to quickly refer back to later.

I recently found a Chrome extension called The Great Suspender that automatically replaces the tab with a placeholder page after a certain period of time, optionally with a screenshot of what the page looked like.

An example of a suspended tab

With the click of the mouse anywhere in the placeholder, the actual page reloads.

The extension also allows you to manually suspend tabs if you know you won’t be needing the tab for a while, and whitelist certain pages or sites to never suspend automatically.

I’ve found I can save a few GB of memory, which could be nearly 20% of my total system memory.  Every bit counts!

Delaying a MacBook Pro’s deep sleep

I bought a new mid-2012 non-Retina MacBook Pro late last year, immediately prior to the line being discontinued (I still think the second-generation MacBook Pros were the best series).  After about a week, I found an annoying thing with it:  When I turned on the computer after coming back from work, it seemed like it almost always required a cold startup after sleeping, where the optical drive initialized and did its buzz, and took a lengthy 10-15 seconds to wake up from sleep.  Also, the computer would wake up (and the optical drive buzzed) even if the MagSafe charger was disconnected.

I contemplated bringing it into the Apple store, as this behaviour was not exhibited in my mid-2009 model and the optical drive buzzing was plain annoying; I thought there was something wrong with my Mac specifically.

However, from a bit of searching it turned out that this was a “feature” of the Mac since OS X Mountain Lion for 2012 Macs and newer: Continue Reading

More Detailed Wi-Fi Info on Mac OS X

Option-clicking on the Wi-Fi icon in the menu bar brings up additional information about the Wi-Fi network to which you are connected.

The option button can be used to reveal hidden options and information in various places around Mac OS.  One example of this is if you option-click the Wi-Fi icon in the menu bar, you will be presented with additional information about the network you are currently connected to, including the type of the Wi-Fi you’re using, the base station’s MAC address, the frequency channel you’re on, and the strength of the connection, among other details.  In addition, there is an additional option to open Wireless Diagnostics which might be able to help you with Wi-Fi issues (however, in my experience it doesn’t really give useful information).

Network Utility

Info tab in Network Utility

An additional tool to help debug network connections is a neat little utility called “Network Utility” that comes bundled with Mac OS X.  You can find it in the Utilities subfolder in the Applications folder, or just use Spotlight to find it.

This utility provides a friendly interface for many tools that are commonly used on the command line for network debugging, such as ping, nslookup, traceroute, whois, and finger. An interesting tool though is the last tab: Port Scan.  Yes, Mac OS comes with a port scanner bundled with it.  Obviously one would hope that the port scanner be used for diagnostic purposes and not malicious purposes.

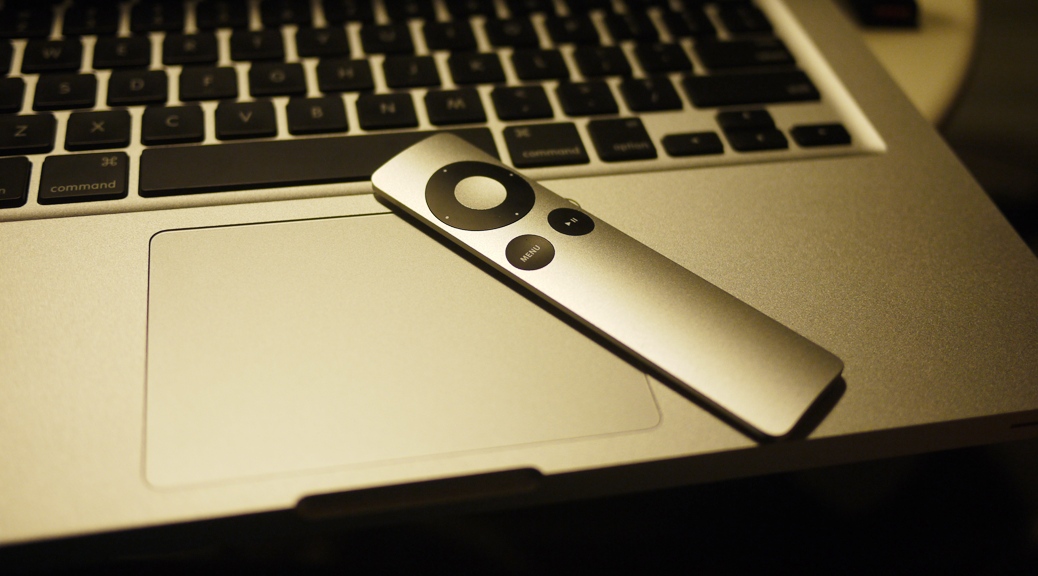
Secure your Mac’s infrared port against random Apple Remotes

If you have a MacBook with an infrared receiver, did you know your Mac could be open to other people controlling your computer?  By default, Mac OS will recognize the signal of any Apple Remote.  Although the effect is relatively harmless (they will probably be able to randomly play some tracks on iTunes), it can range from being annoying if you were studying in the library and your friend happened to prank you, to embarrassing if you happened to be doing a presentation.

Most people do not need to allow any Apple Remote to control their computer.  Why would you want other people’s Apple Remotes to control your computer?  Here is a tutorial for securing your infrared port so that only your own Apple Remote can control your computer.

If you have an Apple Remote…

The icon showing a paired Apple Remote.

You can pair your remote with your computer by pressing and holding the Menu and Next (right) buttons for several seconds, while pointing the remote to the infrared receiver (on the MacBook Pro unibody models, the port is beside the power/sleep light on the front edge of the computer).  The pairing logo will show up in the middle of your screen when the pairing is complete.

If you don’t have an Apple Remote…

You can disable the infrared port so that nobody with a random Remote can control your computer.

  1. Open System Preferences → Security & Privacy.
  2. If the preferences are locked, you will need to click on the lock at the bottom left and enter your password.
  3. Click the Advanced… button at the bottom right.
  4. Check “Disable remote control infrared receiver.”
The advanced options of the Security & Privacy system preferences panel.

Hopefully this tutorial will help you avoid annoying or embarrassing situations when people try to prank you with their own Apple Remote.

Featured image by Julien Gong Min on Flickr.

Mac OS X Terminal startup slow?

Tonight, I was finally fed up with my Terminal window taking nearly 10 seconds to show the initial prompt.  I regularly use Terminal to SSH into other computers and to commit and pull code changes in git repositories. The delay was annoying so I looked for help.

I almost always finish typing my first command before the initial prompt appears.

Luckily, other people on the Internet have noticed the same issue so it wasn’t hard to find a solution. The first one I came across was on this blog post on OSXDaily. Initially, I was a little skeptical of log files having anything to do with the Terminal startup time, but other Google results also came up with the same solution.

The solution is to remove the *.asl (Apple System Log) files from the /private/var/log/asl/ folder. The Terminal command to remove those log files is:

sudo rm -rf /private/var/log/asl/*.asl

This is obviously a short term solution, as new log files will presumably accumulate over time again. I found additional information on SuperUser and ProposedSolution that you can check out, if you are looking for a deeper explanation and/or a long-term solution.

Exit mobile version